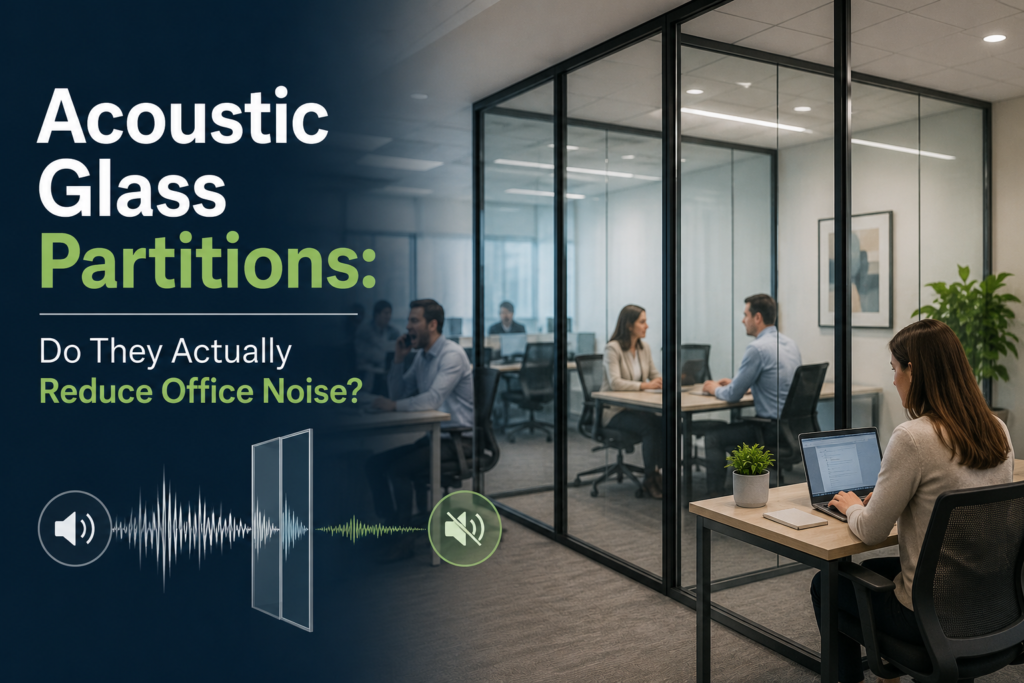
Open offices look great in design photos. In real life, they are often loud. Phone calls bleed across desks, meetings carry through walls, and a single conversation can pull focus from an entire row of people trying to work.
Glass partitions get suggested as a fix for this constantly, mainly because they let companies keep an open, bright layout while still creating separate rooms. But glass has a reputation problem when it comes to sound. Most people assume it does nothing to block noise, while acoustic glass is marketed as if it solves the problem completely.
The truth sits in the middle. Acoustic glass partitions do reduce noise, but how much depends on several factors that are rarely explained clearly. This article looks at what acoustic glass actually is, how sound moves through it, what really affects performance, and where it works well versus where it falls short.
What Acoustic Glass Partitions Actually Are
A standard glass partition is usually a single pane of tempered or annealed glass mounted in a frame. It separates space visually but does very little for sound, since sound passes through a single rigid pane fairly easily.
Acoustic glass is built differently. It typically consists of two or more layers of glass with a damping interlayer between them, often a special acoustic-grade PVB (polyvinyl butyral) film, similar to what is used in laminated safety glass but engineered specifically to absorb vibration rather than just hold broken glass together.
In some setups, acoustic performance comes from a double-glazed unit instead, where two separate panes of glass are mounted with an air gap between them. Sound has to cross that air gap, lose energy in the process, and pass through a second pane before it reaches the other side.
How Sound Actually Travels Through Glass
Sound is vibration moving through air. When that vibration hits a solid surface like glass, the glass itself starts to vibrate slightly and passes some of that energy through to the other side, where it becomes audible sound again.
A single, thin, rigid pane of glass vibrates fairly efficiently. This is exactly why a single sheet of standard glass does little to stop sound. It is rigid enough to pass vibration through with minimal loss.
Acoustic glass interrupts this transfer in two ways. The damping interlayer in laminated acoustic glass absorbs vibration rather than passing it through cleanly, converting some of that sound energy into heat instead of letting it continue as sound. In double-glazed setups, the air gap forces sound to lose energy as it crosses from one pane to the other, and the second pane has to start vibrating independently rather than simply continuing the same vibration.
STC Rating: What the Number Actually Means
Sound Transmission Class, or STC, is the standard measurement used to rate how well a material blocks airborne sound. The higher the number, the more sound it blocks. It is a logarithmic scale, so the difference between ratings matters more than it might look at first glance.
| STC Rating | What It Means in Practice |
| 25–30 | Normal speech is easily heard and understood through the partition. Typical of single-pane standard glass. |
| 35–40 | Loud speech is audible but words are hard to make out. Typical range for basic acoustic laminated glass. |
| 42–48 | Loud speech is muffled and mostly unintelligible. This is the range most quality acoustic glass partitions fall into. |
| 50+ | Even loud sounds are barely perceptible. Reaching this level usually requires double-glazed acoustic units with wide air gaps, which is uncommon for standard office partitions due to cost and thickness. |
For context, a typical interior drywall partition wall sits around STC 30 to 35 if built without specific soundproofing measures, and around STC 45 to 50 with insulation and proper detailing. This is worth keeping in mind when comparing glass to traditional walls.
Do Acoustic Glass Partitions Actually Reduce Noise?
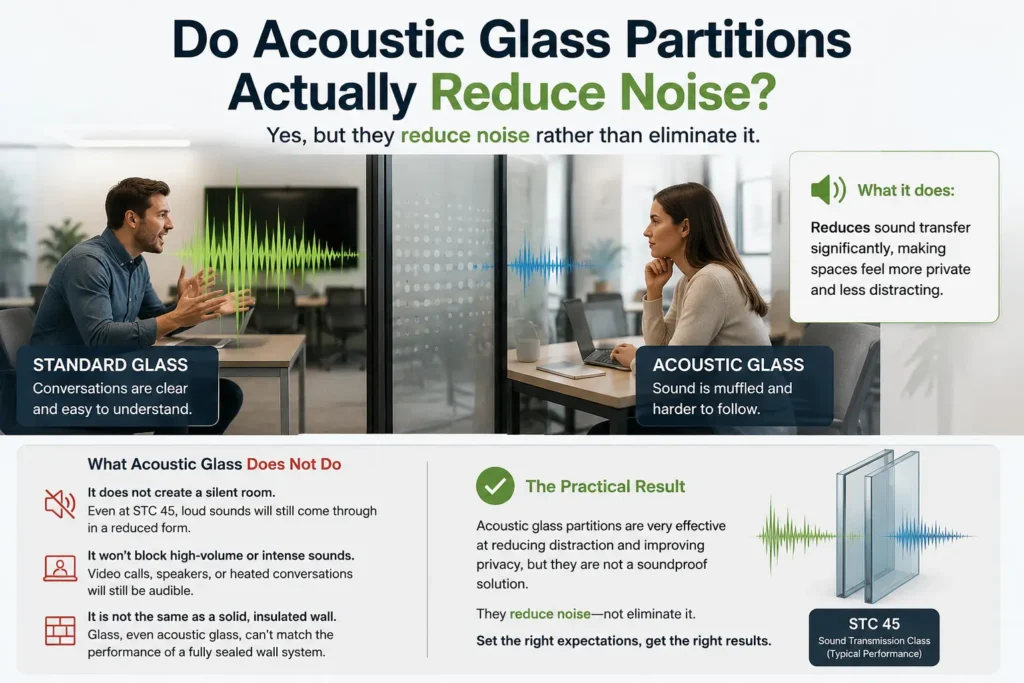
Yes, but the honest answer is that they reduce noise rather than eliminate it. A quality acoustic glass partition will noticeably cut down on sound transfer compared to standard glass or an open layout with no partition at all. Conversations that were fully understandable through a regular glass wall become muffled and harder to follow through acoustic glass.
What acoustic glass does not do is create a silent room. Even a high-performing acoustic glass partition at STC 45 or so still allows loud sounds through in a reduced form. If someone is on a video call with their volume turned up, or if there is a heated discussion happening on the other side, some of that sound will still be audible.
The practical result is that acoustic glass partitions are very effective at reducing distraction and making spaces feel private, but they are not equivalent to a solid, fully sealed wall with insulation. People often expect glass to perform like a soundproof booth, and that expectation is where disappointment usually comes from.
Factors That Affect Real-World Performance
The STC rating printed on a glass spec sheet describes the glass under lab conditions. Actual performance in an office depends heavily on the rest of the installation.
- Door seals and gaps: A glass partition wall might have a high STC rating, but if the door has gaps around the frame or a simple latch with no acoustic seal, sound will travel freely through that gap regardless of how good the glass is.
- Frame and mounting quality: Glass that is mounted directly against a rigid metal frame without any flexible gasket transfers vibration through the frame itself. Proper acoustic installations use rubber or neoprene gaskets to decouple the glass from the frame.
- Ceiling and floor gaps: Many glass partition systems do not extend fully to a solid ceiling, leaving an open plenum space above. Sound can travel up and over the partition through this gap, bypassing the glass entirely.
- Glass thickness and air gap size: Thicker laminated layers and wider air gaps in double-glazed units both improve performance, but most standard office partitions use modest specifications to control cost and keep the profile slim, which limits how high the STC rating can realistically go.
Where Acoustic Glass Works Best, and Where It Falls Short
Where It Performs Well
Acoustic glass partitions are well suited for enclosed meeting rooms, private offices, and focus rooms where the door and frame are properly sealed and the partition runs to a solid ceiling. In these settings, the partition is doing what it is designed to do: blocking sound from a defined, enclosed space.
Where It Falls Short
Acoustic glass struggles in open-plan layouts where partitions only divide part of a larger space, such as a partial-height divider between desks in an open office. Sound simply travels around the glass through the open air above or beside it, making the acoustic properties of the glass itself almost irrelevant. In these layouts, the partition mainly helps with visual privacy and light separation, not noise control.
Acoustic Glass Compared to Other Soundproofing Methods
Acoustic glass is one option among several, and it is worth understanding how it compares.
- Drywall partitions: A standard insulated drywall wall generally outperforms acoustic glass at a similar thickness, since it has no transparent component and can be built with dense insulation. The tradeoff is losing natural light and the open feel that glass provides.
- Acoustic curtains and panels: These absorb sound within a room rather than blocking transmission between rooms. They reduce echo and reverberation but do not stop sound from passing through a wall or partition the way acoustic glass does.
- Acoustic foam panels: Similar to curtains, foam panels manage sound reflection inside a space rather than blocking it from leaving. They are often used alongside glass partitions, not instead of them, since the two solve different problems.
- White noise systems: Rather than blocking sound, these mask it by playing ambient background noise that makes speech less distinguishable. Often combined with acoustic glass for spaces where higher privacy is needed.
Common Misconceptions About Acoustic Glass
- “Acoustic glass means soundproof.” It reduces sound transmission significantly but does not eliminate it. No standard partition, glass or otherwise, achieves true soundproofing without major structural measures.
- “Thicker glass alone solves the problem.” Thickness helps, but the interlayer material, the air gap, and the seal around the frame often matter more than raw glass thickness.
- “All acoustic glass performs the same.” STC ratings vary widely between products. A laminated acoustic pane and a double-glazed acoustic unit can have noticeably different performance levels even if both are marketed as acoustic glass.
The Honest Takeaway
Acoustic glass partitions genuinely do reduce noise, and the difference compared to standard glass is noticeable in real use. They are not, however, a guarantee of silence, and their actual performance depends heavily on the quality of the seals, the frame, and whether the partition forms a complete enclosure rather than a partial divider.
Anyone considering acoustic glass for an office should look at the full installation, not just the STC rating on the glass itself. A high-rated pane installed with poor seals or an open ceiling gap will underperform, while a moderately rated pane installed correctly in a fully enclosed room can work very well. The glass is only one part of a complete acoustic system.
Frequently Asked Questions (FAQs)
For most office settings, an STC rating between 40 and 48 is considered effective. This range muffles loud speech to the point where it is difficult to understand from the other side, which covers the privacy needs of most meeting rooms and private offices.
Generally yes, double glazed units with an air gap tend to achieve higher STC ratings than single laminated panes, but they are also thicker and more expensive. Laminated acoustic glass offers a good middle ground for spaces where a slimmer profile is needed.
In many real installations, yes. A poorly sealed door with gaps around the frame can undo most of the benefit of high-performance acoustic glass, since sound takes the path of least resistance. A well-sealed acoustic door is just as important as the glass.
No. If the partition does not extend to a solid ceiling, sound will travel over the top through the open plenum space regardless of the glass used. Full noise control requires the partition to be a complete enclosure.
For full-height enclosed rooms within an open office, yes. For low partial-height dividers between desks, the acoustic benefit is minimal since sound simply travels around the glass. In that case, the partition mainly serves a visual rather than acoustic purpose.